I tracked the awning clanks and rattles down. The problem is one of generally loose/sloppy clearances in the awning design.
There were 2 main issues.
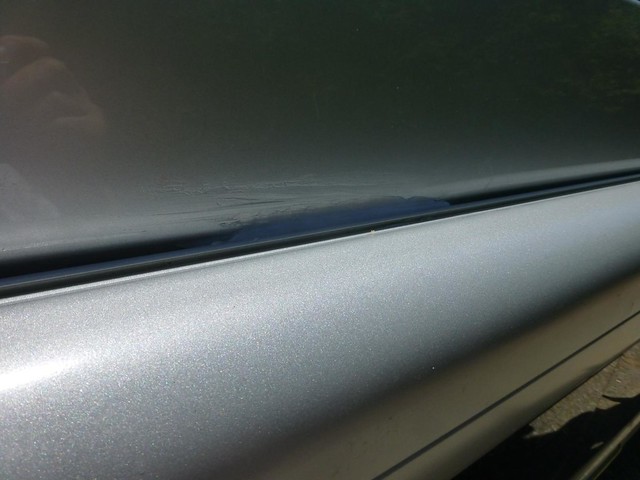
1. The awning mounts are not tightly contoured to snugly fit the awning. The awning is fastened to its mounts by two small sheet metal screws at the base of each mount. Even with those screws, the awning can wiggle around quite a bit. This allowed the awning to loudly bounce against the mounts on a rough road. I added a bunch of silicon seal to the wiggly space. This largely eliminated the clanking.
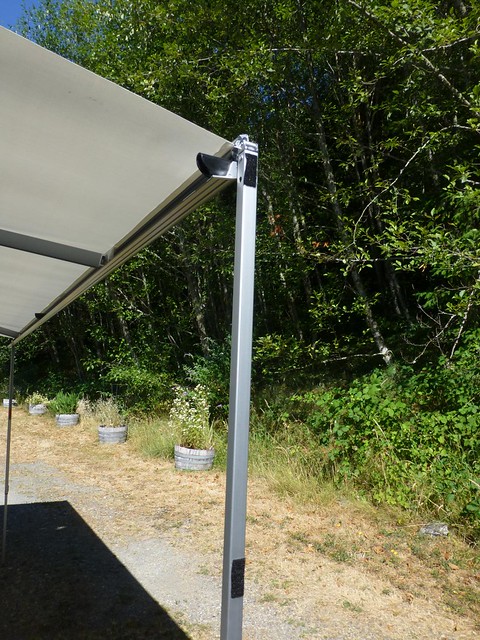
2. The awning has two light weight, fairly flexible support legs that are stowed in the awning's lead rail. Even when stored per instructions, they are free to rattle around in the rail. I added a bunch of pads (cut from the furry side of some industrial adhesive mount velcro). This really helps stop movement, and if the legs do shake against the lead rail surfaces, the pads damp the noise.
Some pics of the padding:
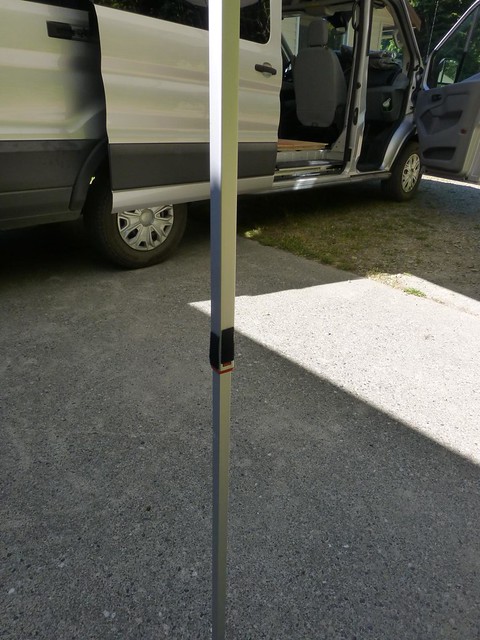
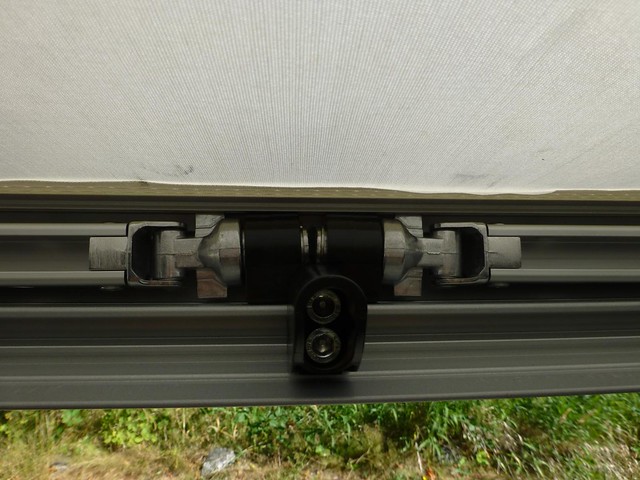 cushion added where stored arms butt
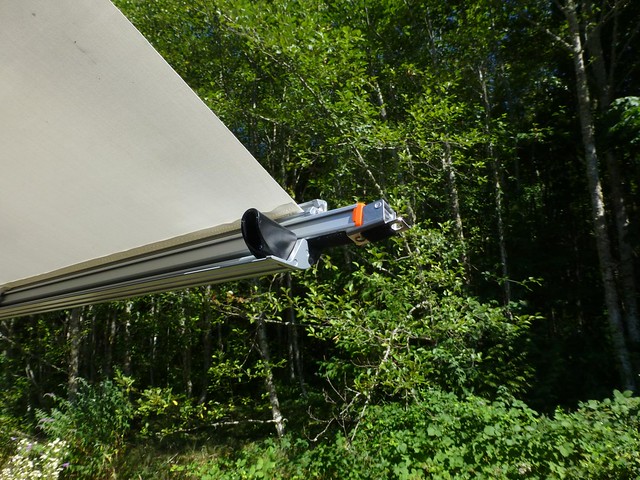
I was also a bit surprised that the fabric has a seam down the middle.
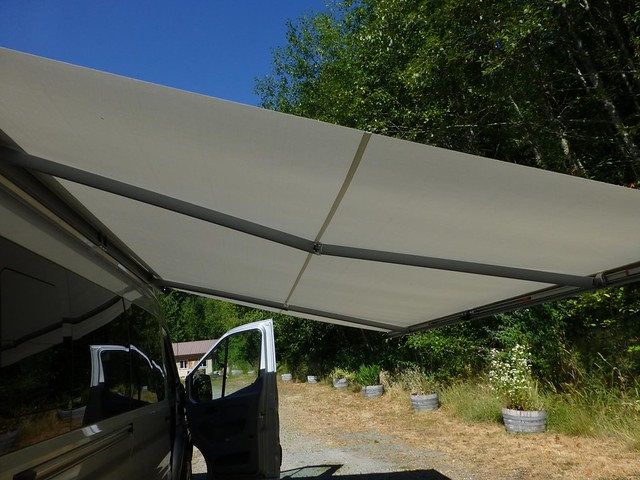
This seam does not show up on any of the Carefree site's awning pictures that I found. Also, we had a larger acrylic awning on a Class C that we had some years back. It had no seam. Hopefully, this will not become a maintenance/wear problem down the road.
Generally speaking, I'm a bit disappointed in the quality of the awning. It should be serviceable, but it's definitely flimsier than I'd like to see on an item subject to constant shaking.
Since I found no other viable product, and given Annie's restrictions on mount locations, I'd still buy this again. But if someone doesn't have the same solar panel or awning material driven constraints, I would suggest looking at other brands.
This pretty much concludes installing the major externally mounted items, with the possible exception of the gray water tank (location TBD). The next steps will be to identify exactly where all the internal stuff will go, in order to plan out plumbing, gas, and electric runs, then to start insulation (along with installing any runs embedded in insulated areas).
So, there will probably be a bit of silence here until I've got some pretty pictures
 of new stuff ready post.
No comments:
Post a Comment