Started installing the solar panels yesterday
First steps are to measure and drill the mounting holes. My buddy Mike has been assisting during the whole project.
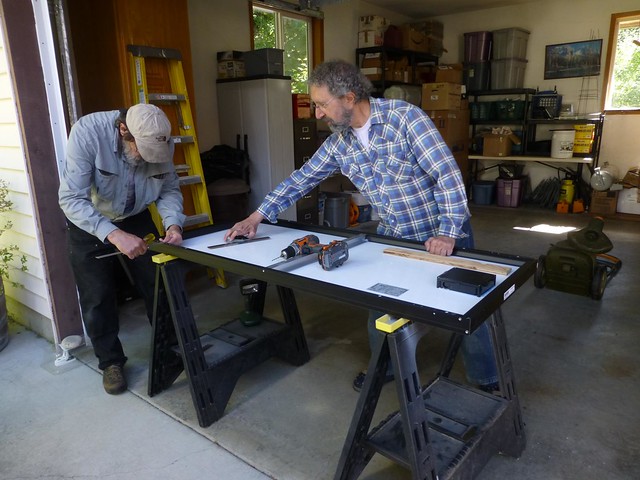
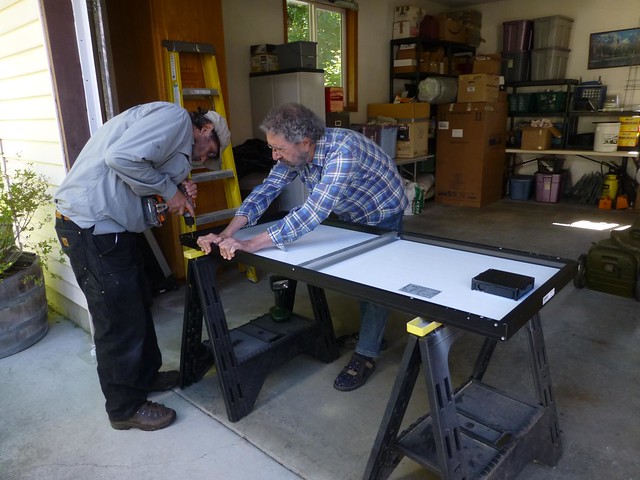
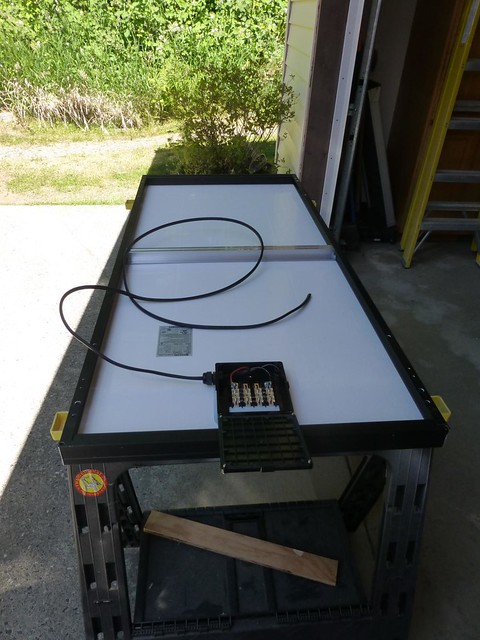
Then wire up the panel (first pre-measure the wire length)
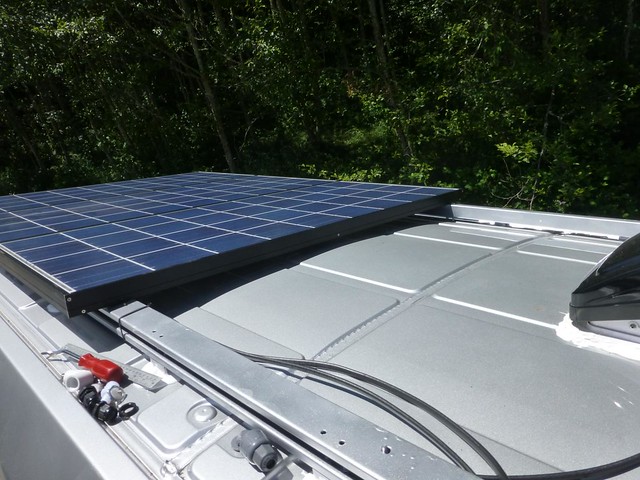
First panel is mounted (not tightened). I was VERY relieved that our hole measurements worked out!
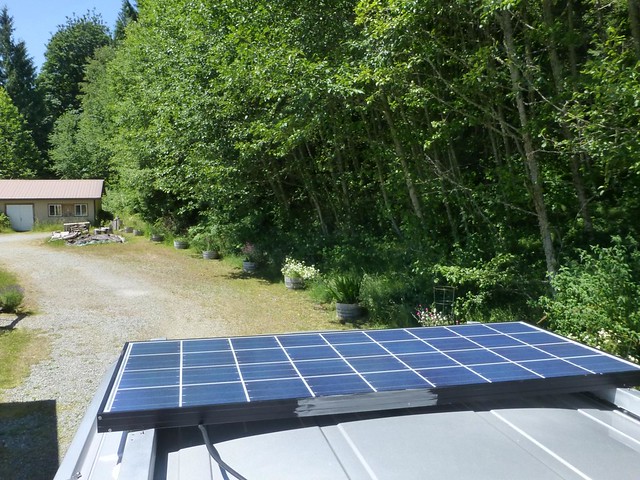
Three panels are in. The downfeed gland is also installed. There will be a combiner box under the last panel. Its output line will go to the downfeed. The hole in the roof was just a tiny bit too small to fit a standard .5" conduit thread. Must be metric. Anyway, I enlarged it to 13/16" with a hole punch, which nicely fits the conduit.
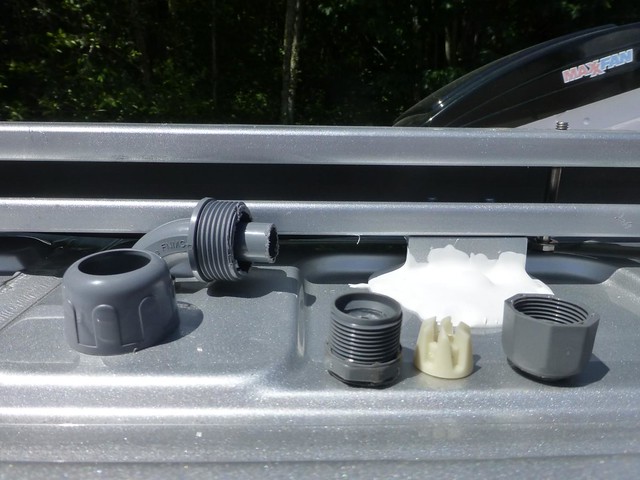
I modified a waterproof bulkhead angle conduit coupler and a wire gland to make the downfeed gland. I didn't want the gland facing up to reduce the chance of leaks. Also, there was not enough clearance between a vertical gland and the rack channel.
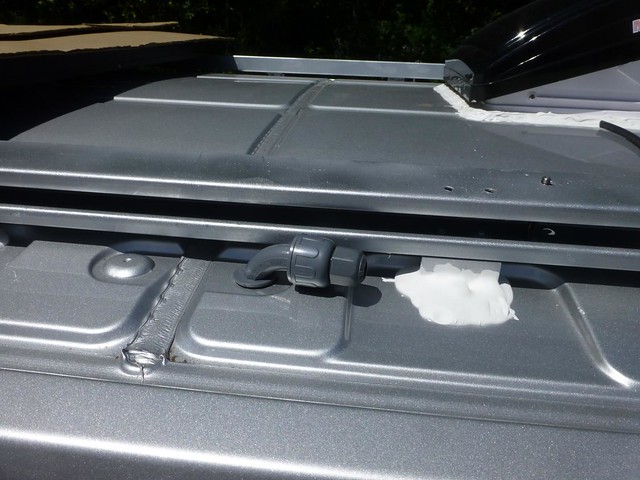
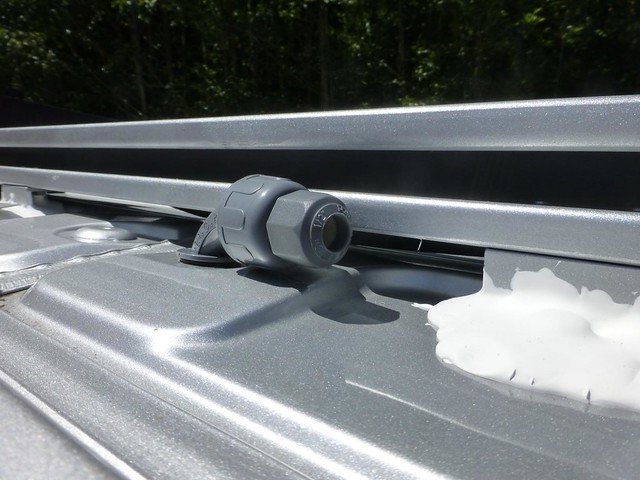
The downfeed assembled It still need lap sealant, but that will wait until the cable is run.
Next steps are to install and wire in the combiner box under the last panel, install that panel, shim the panels, and tighten 'em down.
First steps are to measure and drill the mounting holes. My buddy Mike has been assisting during the whole project.


Then wire up the panel (first pre-measure the wire length)

First panel is mounted (not tightened). I was VERY relieved that our hole measurements worked out!

Three panels are in. The downfeed gland is also installed. There will be a combiner box under the last panel. Its output line will go to the downfeed. The hole in the roof was just a tiny bit too small to fit a standard .5" conduit thread. Must be metric. Anyway, I enlarged it to 13/16" with a hole punch, which nicely fits the conduit.

I modified a waterproof bulkhead angle conduit coupler and a wire gland to make the downfeed gland. I didn't want the gland facing up to reduce the chance of leaks. Also, there was not enough clearance between a vertical gland and the rack channel.

The downfeed assembled It still need lap sealant, but that will wait until the cable is run.


Next steps are to install and wire in the combiner box under the last panel, install that panel, shim the panels, and tighten 'em down.
Just wanted to mention that I have been following your build. Fascinating!! Wish I had the skills, knowledge and the time to do a DIY build. I have no doubt that the quality of your unit will surpass anything that a manufacturer would build in terms of care and ensuring things are done right. Congratulations. Karsty from the Roadtrek Group. PS: I own a Winnebago ERA though. :)
ReplyDeleteThis comment has been removed by a blog administrator.
ReplyDelete